Walls serve as the foundation of our living spaces, providing structure, support, and a canvas for our personal style. Over time, however, wear and tear can take its toll, leaving walls marred with scuffs, cracks, and holes. While these imperfections may seem minor, they can detract from the overall appearance and functionality of a room. Fortunately, with the right approach to wall repair, you can breathe new life into your space and restore its beauty and integrity.
Understanding the Damage
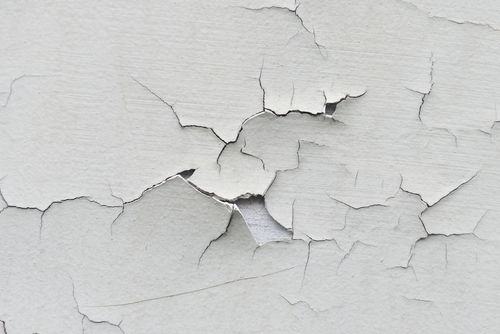
Before embarking on any repairs, it’s essential to assess the extent of the damage. Minor imperfections like scuffs and small cracks can often be easily addressed with simple solutions, while larger cracks and holes may require more extensive repairs. By taking the time to thoroughly inspect your walls, you can identify areas in need of attention and determine the appropriate course of action.

Gathering Your Materials
Once you’ve identified the areas in need of repair, it’s time to gather your materials. Depending on the nature and severity of the damage, you may need a variety of tools and supplies, including spackle or joint compound, sandpaper, a putty knife, a drywall patch (for larger holes), primer, and paint. Having these materials on hand will ensure that you’re prepared to tackle any repair job that comes your way.
Preparing the Surface
Before applying any filler or patching material, it’s essential to prepare the damaged area properly. Start by cleaning the surface to remove any dirt, dust, or debris. Use a damp cloth or sponge to wipe down the area, ensuring that it’s clean and dry before proceeding. This step is crucial for achieving a smooth and seamless repair.
Making the Repairs
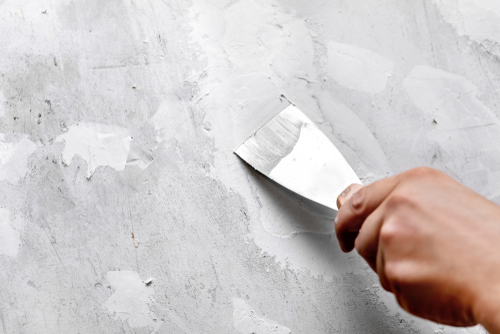
Once the surface is clean and dry, it’s time to begin the repair process. For small cracks and holes, apply a thin layer of spackle or joint compound using a putty knife, smoothing it over the damaged area until it’s flush with the surrounding wall. For larger holes, use a drywall patch to cover the damaged area, following the manufacturer’s instructions for installation.

Finishing Touches
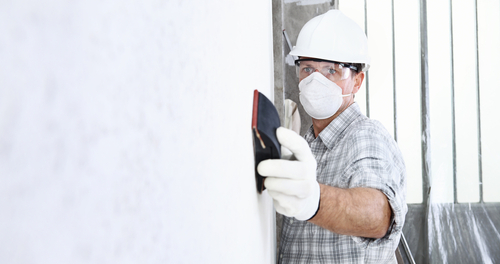
Once the filler or patching material has dried, use sandpaper to smooth out any rough edges and ensure a seamless finish. Wipe away any dust or debris with a clean cloth before applying primer to the repaired area. Primer helps to seal the surface and ensures that the paint adheres evenly. Once the primer has dried, apply a coat of paint that matches the rest of the wall, feathering the edges to blend it seamlessly with the surrounding surface.
Understanding the Causes
Before proceeding with repairs, it’s crucial to understand what caused the damage in the first place. Is it due to normal wear and tear, structural issues, or something else? Identifying the root cause can help prevent future damage and ensure that your repairs are effective in the long term.
Safety Precautions
Depending on the severity of the damage, there might be safety considerations to keep in mind. For instance, if you’re dealing with water damage or mold, it’s essential to take appropriate safety measures, such as wearing protective gear like gloves and a mask, and ensuring proper ventilation in the area.

Matching Materials
When selecting materials for your repairs, aim to match them as closely as possible to the existing wall surface. This includes not only the color of the paint but also the texture and finish. Properly matching materials will help your repairs blend seamlessly with the surrounding area, minimizing the visibility of the patched areas.
Structural Integrity
While it’s tempting to focus solely on the cosmetic aspects of wall repair, it’s essential not to overlook the structural integrity of the wall. If you suspect underlying structural issues, such as water damage or termite infestation, it’s best to consult a professional to assess the situation thoroughly and address any underlying issues before proceeding with cosmetic repairs.
Patience is Key
Effective wall repair takes time and patience. Rushing through the process can result in subpar results and may even cause further damage. Take your time to properly assess, prepare, and execute each step of the repair process, ensuring that each layer of filler, primer, and paint has adequate time to dry and cure before proceeding to the next step.

Maintenance Tips
Once you’ve completed your wall repairs, it’s essential to implement regular maintenance to prevent future damage. This may include periodically inspecting your walls for signs of wear and tear, promptly addressing any new damage as it occurs, and maintaining proper humidity levels to prevent issues like peeling paint or mold growth.
Conclusion
Wall repair is a vital aspect of maintaining the beauty and functionality of your home. By addressing minor imperfections and damage promptly, you can prevent further deterioration and preserve the integrity of your walls for years to come. Whether you’re tackling small scuffs and cracks or more significant holes and damage, taking the time to properly assess, prepare, and repair your walls will ensure that your space remains a welcoming and aesthetically pleasing environment for you and your family.

